


Deploy GitLab on KubeSphere
GitLab is an open-source end-to-end software development platform with built-in version control, issue tracking, code review, CI/CD, and more.
This tutorial demonstrates how to deploy GitLab on KubeSphere.
Prerequisites
- You need to enable the OpenPitrix system.
- You need to create a workspace, a project, and two accounts (
ws-adminandproject-regular) for this tutorial. The accountws-adminmust be granted the role ofworkspace-adminin the workspace, and the accountproject-regularmust be invited to the project with the role ofoperator. If they are not ready, refer to Create Workspaces, Projects, Users and Roles.
Hands-on Lab
Step 1: Add an app repository
Log in to KubeSphere as
ws-admin. In your workspace, go to App Repositories under App Management, and then click Add.In the displayed dialog box, enter
mainfor the app repository name andhttps://charts.kubesphere.io/mainfor the app repository URL. Click Validate to verify the URL and you will see a green check mark next to the URL if it is available. Click OK to continue.The repository displays in the list after it is successfully imported to KubeSphere.
Step 2: Deploy GitLab
Log out of KubeSphere and log back in as
project-regular. In your project, go to Apps under Application Workloads and click Create.In the dialog box that appears, select From App Template.
Select
mainfrom the drop-down list, then click gitlab.On the App Information tab and the Chart Files tab, you can view the default settings on the console. Click Install to continue.
On the Basic Information page, you can view the app name, app version, and deployment location. This tutorial uses the version
4.2.3 [13.2.2]. Click Next to continue.On the App Settings page, use the following settings to replace the default ones, and then click Install.
global:
  hosts:
    domain: demo-project.svc.cluster.local
gitlab-runner:
  install: false
gitlab:
  webservice:
    helmTests:
      enabled: false
Note
demo-projectrefers to the project name where GitLab is deployed. Make sure you use your own project name.Wait for GitLab to be up and running.
Go to Workloads, and you can see all the Deployments and StatefulSets created for GitLab.
Note
It may take a while before all the Deployments and StatefulSets are up and running.
Step 3: Get the root user's password
Go to Secrets under Configuration, enter
gitlab-initial-root-passwordin the search box, and then press Enter on your keyboard to search the Secret.Click the Secret to go to its detail page, and then click
 in the upper-right corner to view the password. Make sure you copy it.
Step 4: Edit the hosts file
Find the
hostsfile on your local machine.Note
The path of thehostsfile is/etc/hostsfor Linux, orc:\windows\system32\drivers\etc\hostsfor Windows.Add the following item into the
hostsfile.192.168.4.3 gitlab.demo-project.svc.cluster.localNote
192.168.4.3anddemo-projectrefer to the NodeIP and project name respectively where GitLab is deployed. Make sure you use your own NodeIP and project name.- You can use any IP address of the nodes in your Kubernetes cluster.
Step 5: Access GitLab
Go to Services under Application Workloads, enter
nginx-ingress-controllerin the search box, and then press Enter on your keyboard to search the Service. You can see the Service has been exposed through port31246, which you can use to access GitLab.Note
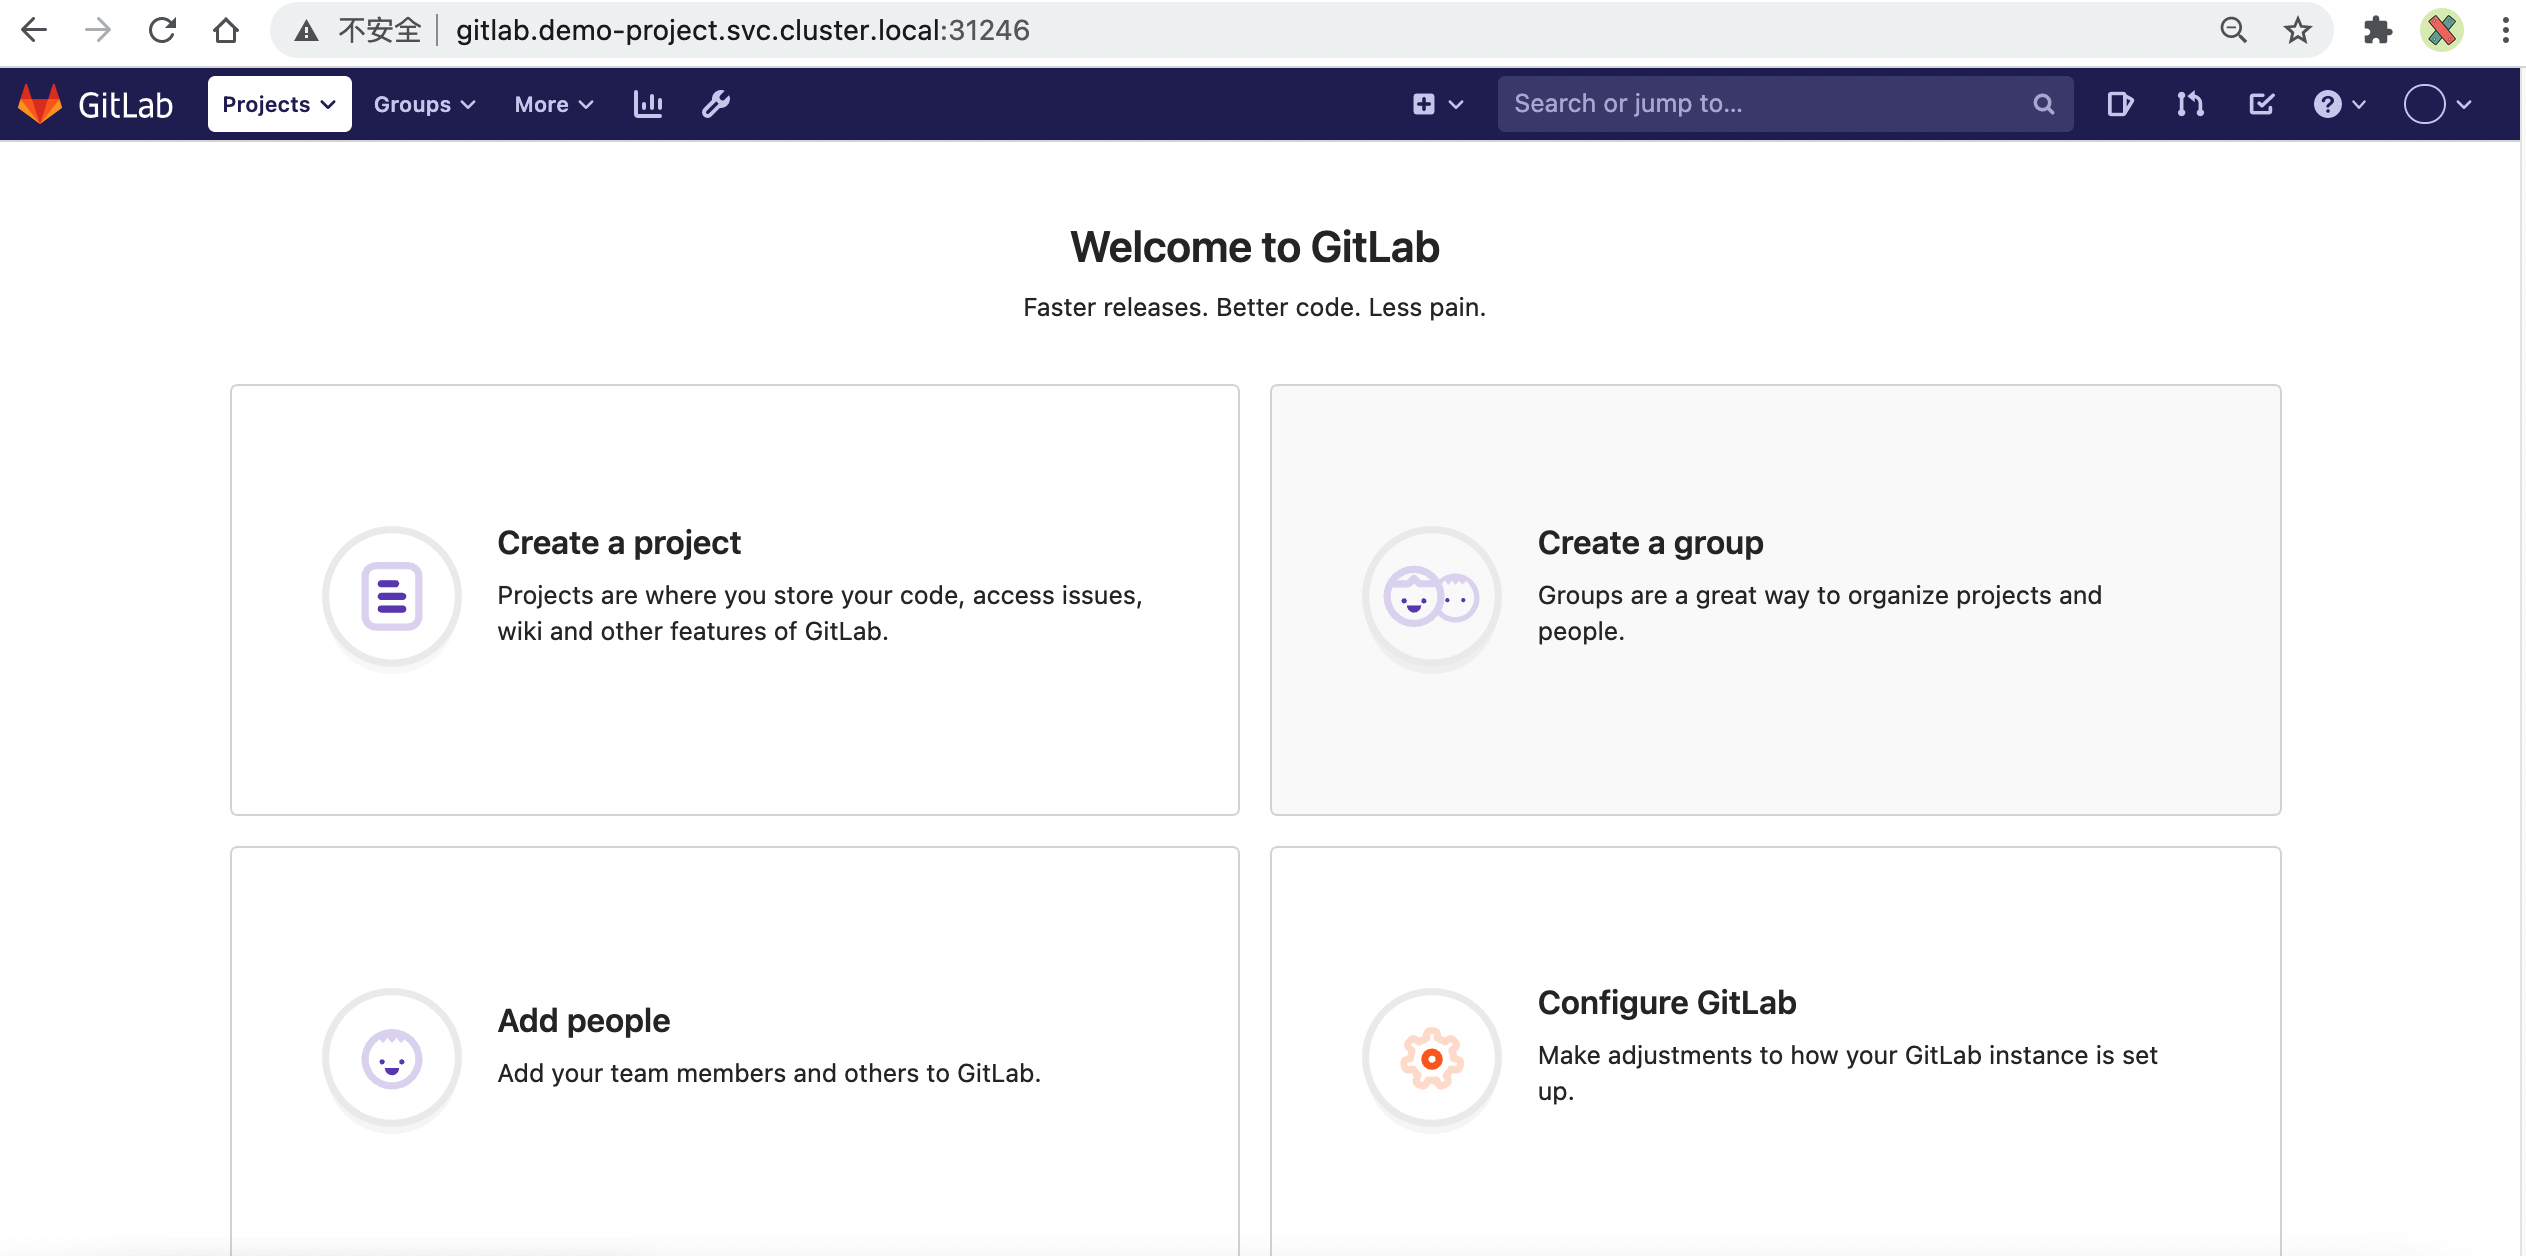
The port number shown on your console may be different. Make sure you use your own port number.Access GitLab through
http://gitlab.demo-project.svc.cluster.local:31246using the root account and its initial password (root/ojPWrWECLWN0XFJkGs7aAqtitGMJlVfS0fLEDE03P9S0ji34XDoWmxs2MzgZRRWF).
Note
You may need to open the port in your security groups and configure related port forwarding rules depending on where your Kubernetes cluster is deployed.
Feedback
Was this page Helpful?
Receive the latest news, articles and updates from KubeSphere
Thanks for the feedback. If you have a specific question about how to use KubeSphere, ask it on Slack. Open an issue in the GitHub repo if you want to report a problem or suggest an improvement.
 Previous

What’s on this Page