


Use Pipeline Step Templates
In KubeSphere 3.4.x, the DevOps project supports using step templates in pipelines.
This section describes how to configure and use pipeline step templates in KubeSphere.
Prerequisites
Create a workspace and a user (
project-admin). Invite this user to the workspace and assign the role "workspace-self-provisioner" to the user. For more information, please refer to Create Workspaces, Projects, Users and Roles.
Enable DevOps
Log in to the console as the
adminuser, click Platform in the upper left corner, and select Cluster Management.Click CRDs, enter
clusterconfigurationin the search bar, and click the search result to view its detailed page.Under Custom Resources, click the three dots on the right side of
ks-installer, select Edit YAML, and change the 'enabled' configuration under 'devops' to true.
devops:
  enabled: true  # Change 'false' to 'true'.
- Run the 'kubectl' command to check the DevOps installation process.
kubectl logs -n kubesphere-system $(kubectl get pod -n kubesphere-system -l 'app in (ks-install, ks-installer)' -o jsonpath='{.items[0].metadata.name}') -f
- Run the 'kubectl' command to verify if the installation is completed.
kubectl get pod -n kubesphere-devops-system
If the corresponding pod is in the 'Running' state, it indicates a successful installation.
devops-apiserver-7576cfc79c-j9kdz    1/1     Running     0          23h
devops-controller-7bcbbfc546-lszkt   1/1     Running     0          23h
devops-jenkins-79b59bdd5-tjrj8       1/1     Running     0          23h
s2ioperator-0                        1/1     Running     0          23h
Create and Use Custom Step Templates
Create Custom Step Templates
Currently, custom step templates can only be created through the console.
- Use the 'kubectl' command to view existing step templates.
kubectl get clustersteptemplates
NAME                 AGE
archiveartifacts     6d7h
build                6d7h
cd                   6d7h
checkout             6d7h
container            6d7h
echo                 6d7h
error                6d7h
git                  6d7h
input                6d7h
junit                6d7h
mail                 6d7h
retry                6d7h
script               6d7h
shell                6d7h
sleep                6d7h
timeout              6d7h
waitforqualitygate   6d7h
withcredentials      6d7h
withsonarqubeenv     6d7h
- To create a custom step template, create a YAML file first to support simple file writing.
apiVersion: devops.kubesphere.io/v1alpha3
kind: ClusterStepTemplate
metadata:
  annotations:
    devops.kubesphere.io/descriptionEN: Write message to file in the build
    devops.kubesphere.io/descriptionZH: Write a file during the build process
    devops.kubesphere.io/displayNameEN: writeFile
    devops.kubesphere.io/displayNameZH: Write a file
    meta.helm.sh/release-name: devops
    meta.helm.sh/release-namespace: kubesphere-devops-system
    step.devops.kubesphere.io/icon: loudspeaker
  generation: 1
  labels:
    app.kubernetes.io/managed-by: Helm
    step.devops.kubesphere.io/category: General
  name: writefile
spec:
  parameters:
  - display: file
    name: file
    required: true
    type: string
  - display: text
    name: text
    required: true
    type: string
  runtime: dsl
  template: |
    {
      "arguments": [
        {
          "key": "file",
          "value": {
            "isLiteral": true,
            "value": "{{.param.file}}"
          }
        },
        {
          "key": "text",
          "value": {
            "isLiteral": true,
            "value": "{{.param.text}}"
          }
        }
      ],
      "name": "writeFile"
    }
Note
a. Step templates are implemented through CRDs (Custom Resource Definitions). For more details, please refer to CRD for Step Templates.
b. metadata.name in the YAML file should be consistent with spec.template.name. Additionally, the name field relies on functions within Jenkins to achieve the corresponding functionality. In the provided YAML file, the writeFile function is used to implement the output functionality. For more details, please refer to pipeline steps.
- Create a custom step using the kubectl command.
kubectl apply -f test-writefile.yaml
- Run the below command to check if the custom step template "writefile" has been created.
kubectl get clustersteptemplates

NAME                 AGE
archiveartifacts     37d
build                37d
cd                   37d
checkout             37d
container            37d
echo                 37d
error                37d
git                  37d
input                37d
junit                37d
mail                 37d
pwd                  28d
retry                37d
script               37d
shell                37d
sleep                37d
timeout              37d
waitforqualitygate   37d
withcredentials      37d
withsonarqubeenv     37d
writefile            28s
Use Custom Step Templates
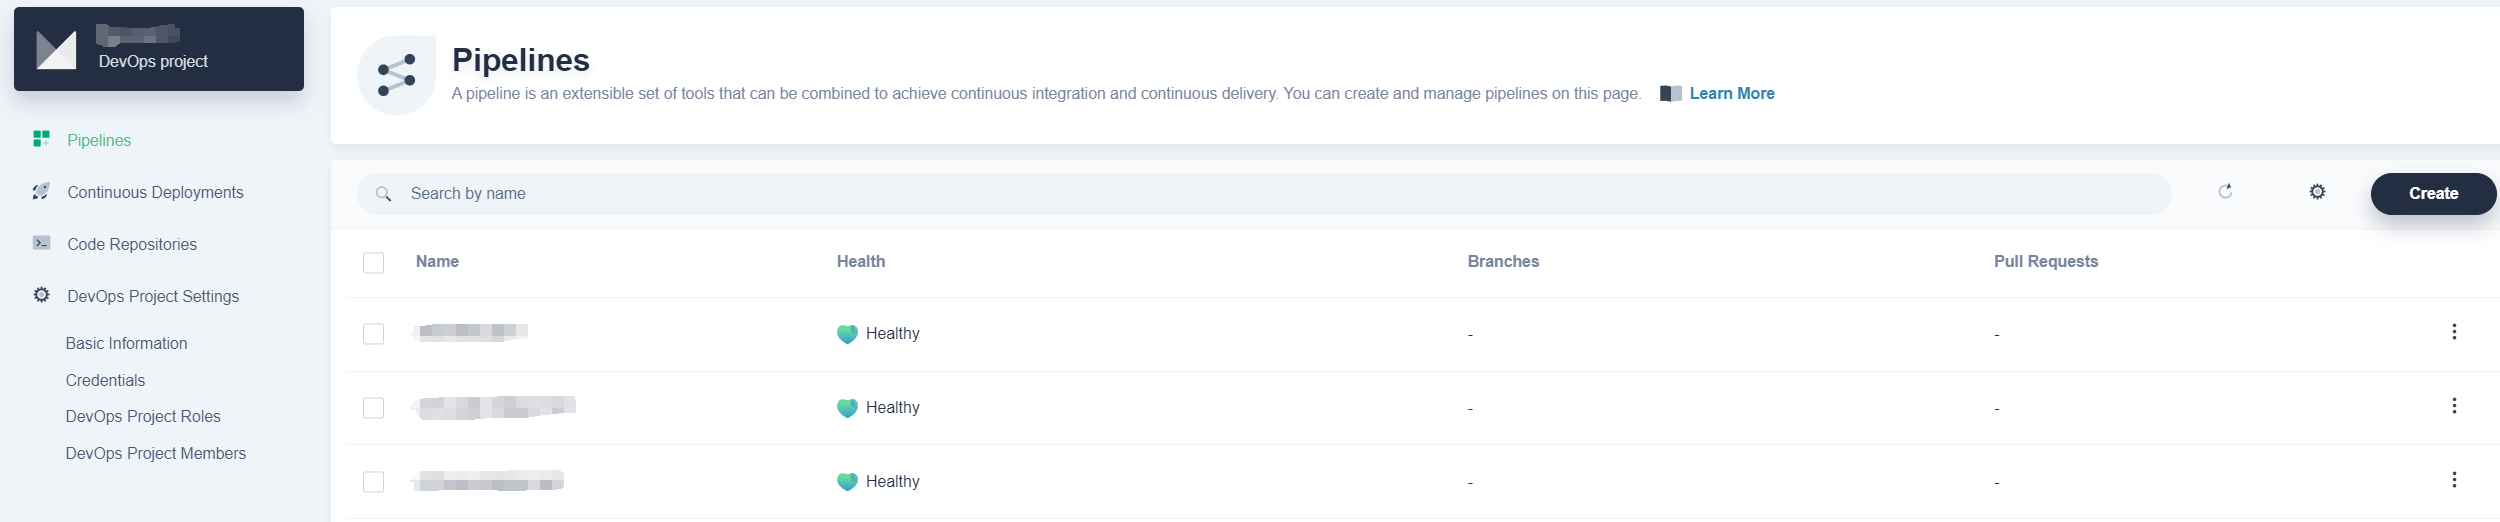
- After entering the DevOps project, create a new pipeline.
- In the pipeline editor, select predefined templates such as Node.js, Maven, Golang, etc. based on your requirements. Or create a custom pipeline.
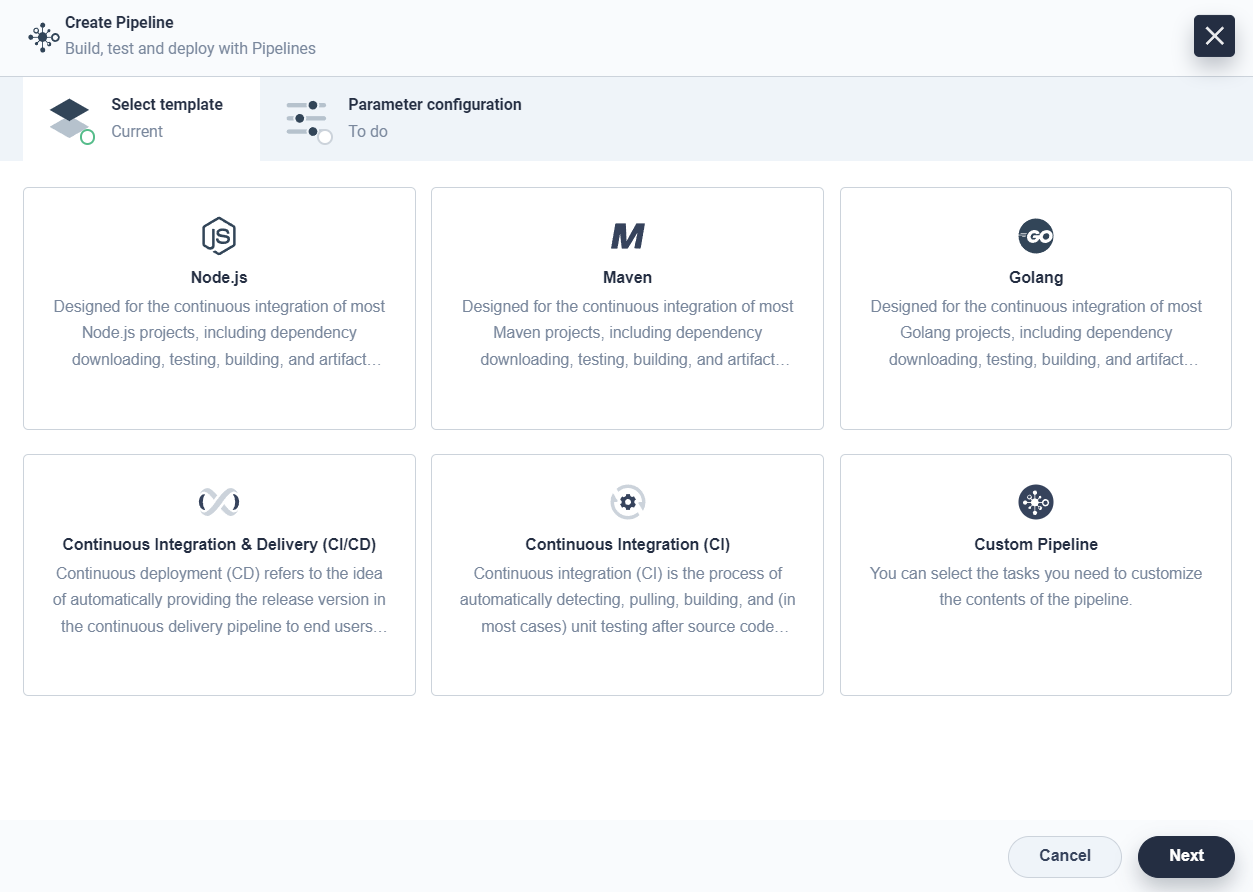
- Select the template "Golang" to create a pipeline. In the pipeline, create a notification stage at the end of the pipeline.

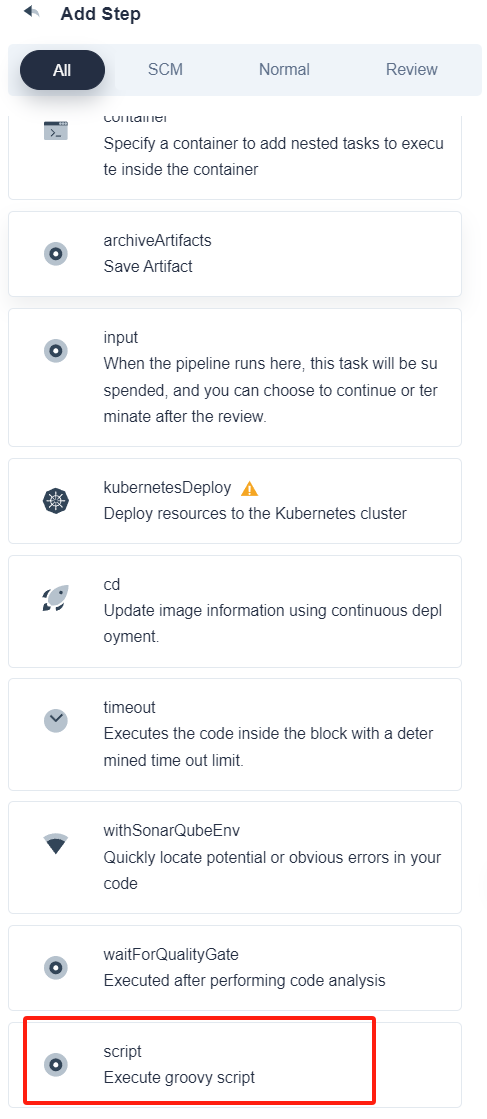
- In the notification stage, add steps. There are several step templates available here, and you can choose the custom step
writefile.
Now the configuration of a custom step template is completed.
Feedback
Was this page Helpful?
Receive the latest news, articles and updates from KubeSphere
Thanks for the feedback. If you have a specific question about how to use KubeSphere, ask it on Slack. Open an issue in the GitHub repo if you want to report a problem or suggest an improvement.
 Previous

What’s on this Page